|
||||||||||
Thursday January 18, 2007 5:10 am Lethbridge Sunrise 8:21 Sunset 17:03 Hours of daylight: 8:42
A. Morning Musings
5:10 am It is -10 C at the moment with a high of -3 C forecast.
A quick addendum to yesterday. The "Slow-Cooker Beef with Beer" turned out well. It was delicious. The only difference between what we had and what the magazine portrayed was that their image showed slices of roast beef whereas ours was more like pulled beef. The meat was so tender that it simply fell apart when I tried to slice it. I prefer our final result to that in the magazine. We had friends over for the meal and we ended the meal with lattes all around. Quickly made with no fuss. The new Tassimo coffee machine is turning out to be a nice addition. We have yet to make a cappuccino but that is the first time we have had lattes in our own kitchen.
Allan just sent me a file associated with the latest version of Google Earth. I downloaded it and when I clicked on his file it zoomed right into the tree in their front yard and placed a yellow stick-pin there indicating that was where the photo of the koala was taken. What a startling way to begin the morning. That is the early news from our house. Now ...
Here are the news.
CBC Headline: Navy Patrol Can Go Ahead, O'Connor Says
This is a continuation of the story that began yesterday. There was a report that the Canadian navy could not send a patrol vessel off the east coast of Canada to monitor off shore fishing due to lack of funding. Obviously this was an embarrassment, and quickly rectified. But it should never have come to this.
Canadian Headline: see above
Australian Headline (from The Australian): Howard to Refund Cost of Broome Getaway
This is also a continuation of the story from yesterday. It is not yet clear whether the decision to pay for the cost was made before or after the story broke that he was in Broome. It appears that Australia has more money than Canada.
The first item on the agenda for today is a visit to The Ugly Mug. Always enjoyable.
B. Plan
Immediate Health Walk & exercise 1 hr Technology Begin reading "iPhoto" 1 hr Digital photography - learn about using the various manual settings 1 hr Model Trains Follow tutorial for 3rdPlanIt (Manual p. 8 - 13) 2 hr Literature Continue reading "Passage to Juneau" by Jonathan Raban 1 hr Later Chores Investigate water softeners for home Technology Read manual for cell phone Make notes for chap. 4 of "Switching to the Mac" Burn backup of images onto DVD Edit iPhoto images Mathematics Read "Fearless Symmetry" chap 9: Elliptic Curves Model Trains Add ground cover to oil refinery diorama Continue assembly of coaling tower Purchase DCC system History Read Watson "Ideas" Philosophy Read & make notes for "Breaking the Spell" GO Complete reading "Lessons in the Fundamentals of Go" Puzzles The Orange Puzzle Cube: puzzle #10
C. Actual/Note
Model Trains 09 January 18 |
|||
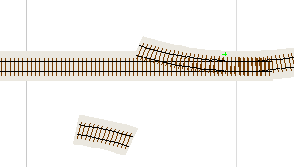
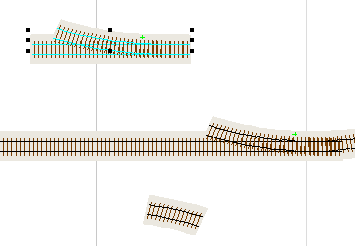
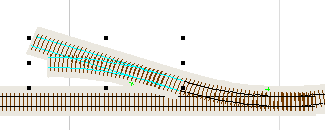
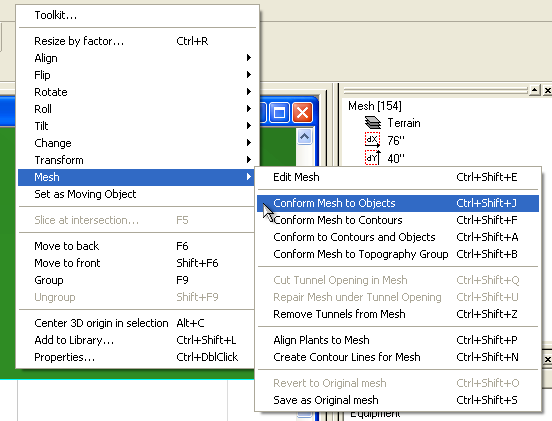
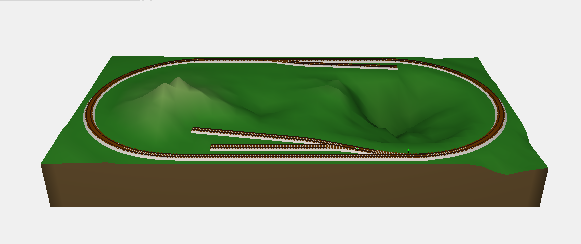
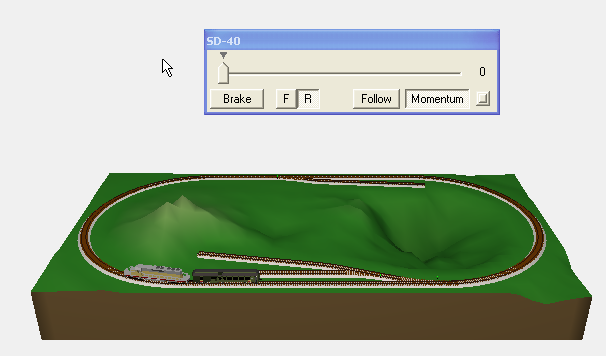
The following section numbers refer to the numbers in the 3rd PlanIt User's Manual. First, let's see if I can reload my previous session's track plan. No problem. A straight-forward File -> Open command supplied a window with a file called Plan1 in it. Selecting that did the trick. I will immediately save this as Plan2 and then continue with the next section in the tutorial. 2.2.4 Modifying the Design
|
|||
D. Reflection
